Problem Faced: Need to Manage Tasks Efficiently
Managing tasks can be challenging without a proper system. A to-do list application helps keep track of tasks and ensures nothing is forgotten.
Objectives
- Create a simple, interactive to-do list application.
- Learn the basics of HTML, CSS, and JavaScript.
Solution
We will build a to-do list application using HTML for structure, CSS for styling, and JavaScript for functionality.
Step-by-Step
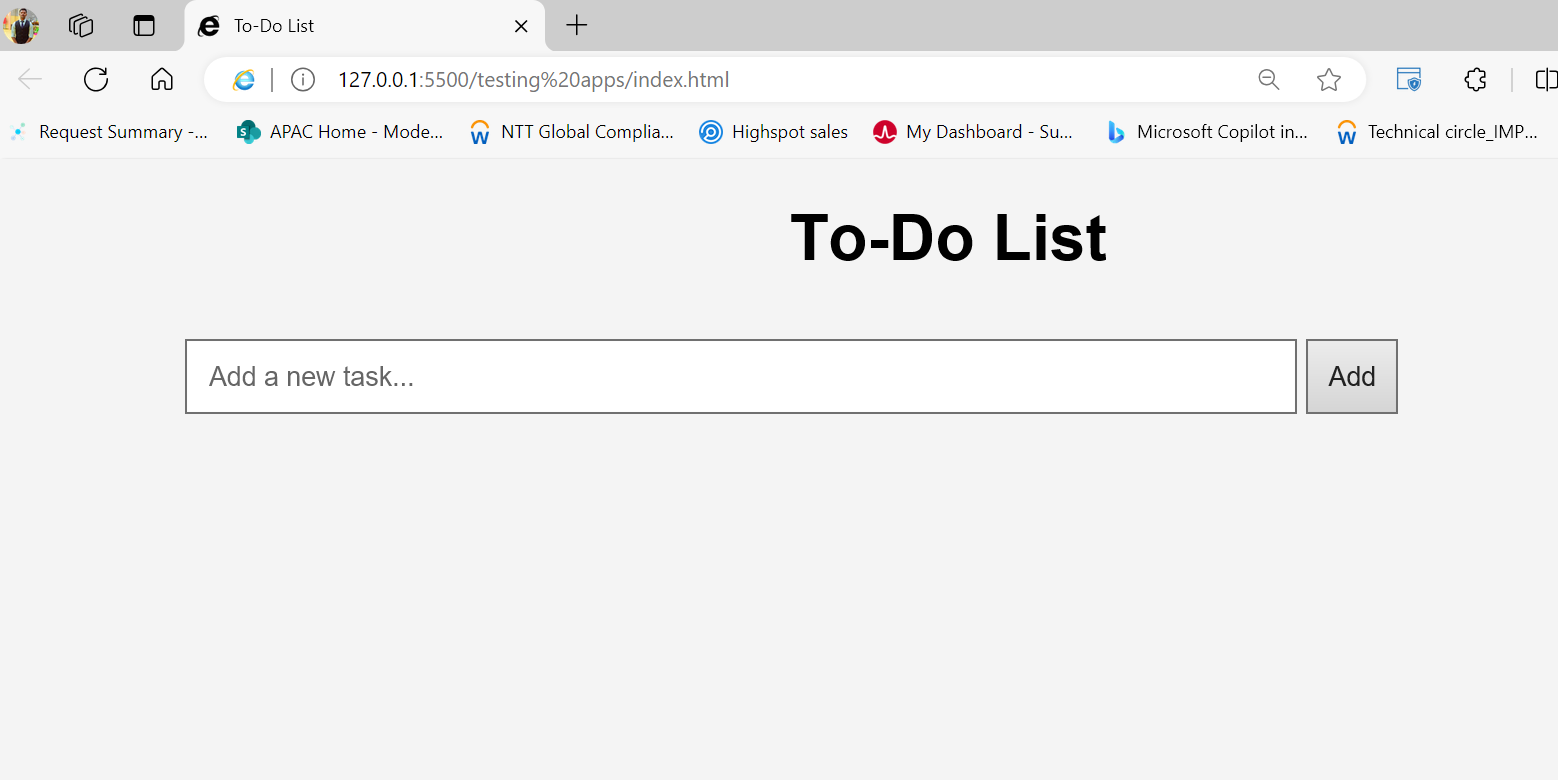
Step 1: Set Up the HTML Structure
Create the basic structure of the to-do list application using HTML.
<!DOCTYPE html>
<html lang="en">
<head>
    <meta charset="UTF-8">
    <meta name="viewport" content="width=device-width, initial-scale=1.0">
    <title>To-Do List</title>
</head>
<body>
    <div class="container">
        <h1>To-Do List</h1>
        <input type="text" id="new-task" placeholder="Add a new task...">
        <button onclick="addTask()">Add</button>
        <ul id="task-list"></ul>
    </div>
</body>
</html>
Step 2: Style the Application with CSS
Add some basic styling to make the application look better.
<style>
body {
    font-family: Arial, sans-serif;
    background-color: #f4f4f4;
    margin: 0;
    padding: 0;
}
.container {
    width: 80%;
    margin: auto;
    overflow: hidden;
}
h1 {
    text-align: center;
}
input[type="text"] {
    width: 70%;
    padding: 10px;
    margin: 10px 0;
}
button {
    padding: 10px;
}
ul {
    list-style-type: none;
    padding: 0;
}
li {
    background: #fff;
    margin: 5px 0;
    padding: 10px;
    border: 1px solid #ddd;
}
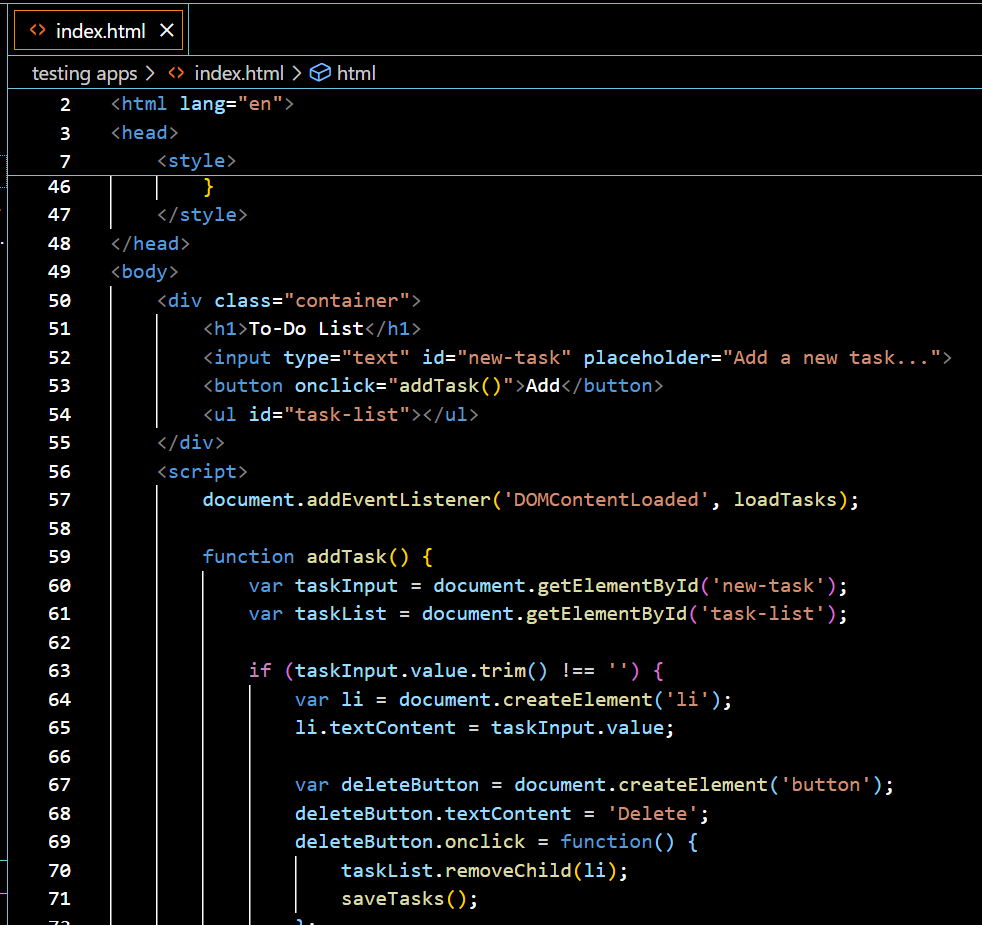
Step 3: Add JavaScript Functionality
Use JavaScript to handle adding, removing, and marking tasks as complete.
<script>
function addTask() {
    var taskInput = document.getElementById('new-task');
    var taskList = document.getElementById('task-list');

    if (taskInput.value.trim() !== '') {
        var li = document.createElement('li');
        li.textContent = taskInput.value;

        var deleteButton = document.createElement('button');
        deleteButton.textContent = 'Delete';
        deleteButton.onclick = function() {
            taskList.removeChild(li);
        };

        li.appendChild(deleteButton);
        taskList.appendChild(li);

        taskInput.value = '';
    }
}
</script>

Outcome/Result
By following these steps, you will have a functional to-do list application that helps you manage your tasks efficiently. This project also provides a solid foundation in HTML, CSS, and JavaScript, which are essential skills for web development.